|
|
|
Making the Table legs
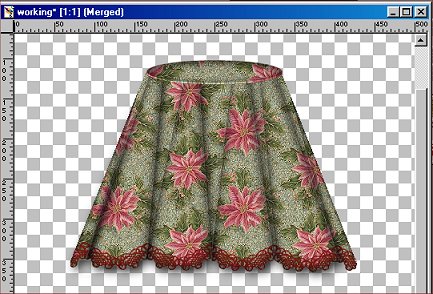
This is what you should have by now.

You should also have just 2 Layers..one named Merged
and one named Layer 1.
Make sure Layer 1 is active by clicking on it in the Layers Dropdown
box.
Now add a new layer.
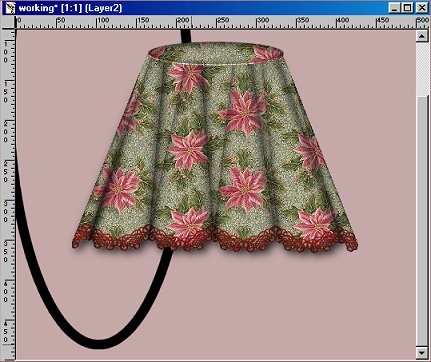
On the new layer..use the Preset Shapes tool set to
Ellipse...Stroked...Line Width 12...antialias checked.
Draw a LARGE ellipse on the left side og the table. Part of this ellipse
we will be getting rid of..the part you want to watch is at the bottom
of
the table..this is going to be one of your table legs.
Like this

Now you can use your eraser..or your lasso tool to select the part of
the ellipse
you want to get rid of. I used my lasso tool..here is what I selected.

Once I hae it selected..I just hit Delete to get rid of it.
Also get rid of any that is at the top of the table also.
The only part you want to keep is that coming from the bottom of the
table
to form the leg.
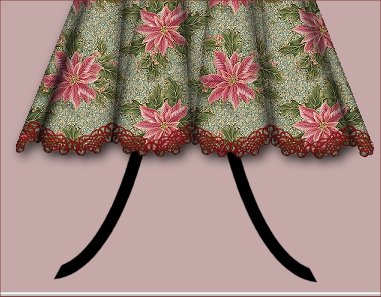
Now..use the Rectangle selection tool..draw a box all around the black
area
and click on it to select it. Hit Ctrl C to copy it..then Ctrl E to
paste it ...then go to Image..mirror..
to mirror it. This will be the leg for the other side. Place it so
it is even with the other one at the bottom
and also an even distance from it in the middle.
Like this.

Next...use a scroll type font..I used one called Scrollworks.
Set the font color to black.
Place it in between the two legs..keep it selected..
then click on the Deformation tool . Use the boxes to pull the scroll
or design
until it fits between the legs. Once you have it the way you want it..double
click in the center
and click yes to apply. Now sharpen it once.
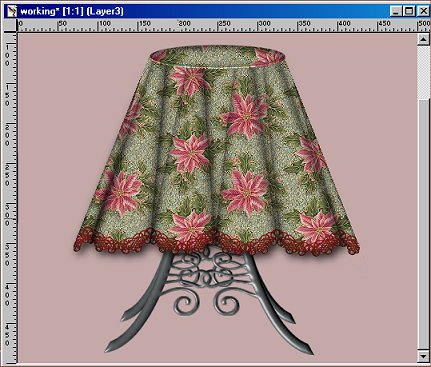
Here is mine.

Now use the Rectangle selection tool to draw a box around all of it.
Click inside the box ..on the legs to select them...now use any
Blade Pro preset..or the sculpture tool to add texture to them.
Keep them selected after you add your preset...Hit Ctrl C to copy.
Now go to the layers Dropdown..and click on Layer 1.
Now add a new layer. On the new layer..Hit Ctrl E to paste the copy
then click on the Deformation tool . Now use the boxes to pull it and
move it
up a little higher than your first legs. Also you can pull the sides
in a little.
This makes it look like they are in back of the first legs.
Here is mine.

Now all that's left is to go to the Layers Dropdown box..right click
on Layer 1 and delete.
Now merge the visible layers...and tube your table.
If I have left anything out of this tutorial or you have any problems..just
email me
and I will try to help. *S*
To see some different tables
CLICK HERE
Tutorial written by Jane Braz
©2000.