|
|
|
Written by Jane Braz
Main Site is at
http://www.psptubes.com
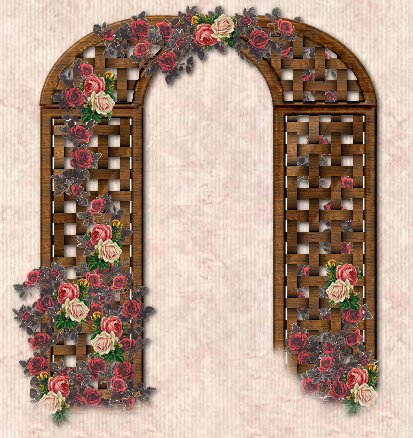
Making an Archway in
PSP 6
In order to make this tutorial
easy to follow
there are many graphic pictures.
Before you start..you need to set your rulers
to show.
Some of these instructions use the ruler marks
for guides.
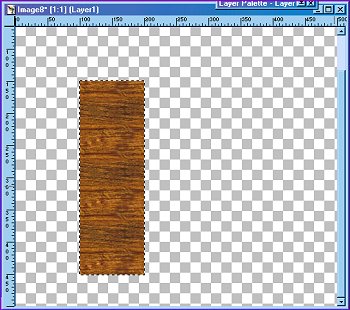
Open a new image 500 x 500, transparent background.
Using the rectangle selection tool, antialias
checked,
start at the 100 x 150 marks..draw out to
the 200 mark
and down to the 450 mark.
Using the Flood Fill..choose a pattern of your
choice and flood fill your
rectangle. I used this one.

Keep selected and got to Effects, Weave, and use these settings

Now..deselect.
Using your magic wand..select all the white
squares .
Hold your shift key down as you click on them
to add to your selection.
After you have all them selected..hit delete,
to delete them.
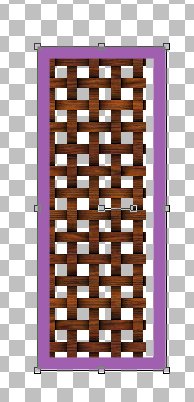
Next...deselect...then using your rectangle
selection tool..draw a rectangle around
your lattice and then click inside of it somewhere
on the lattice to select it.
Now move it to the lower left corner of your
canvas...this gives you room to work on the rest.
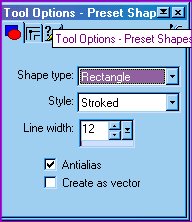
Now..add a new layer.
On the new layer..choose the Preset Shapes,
and use these settings
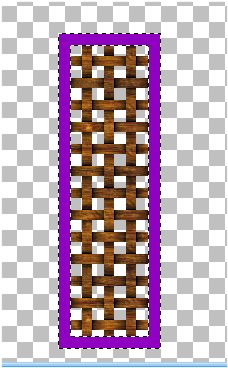
Set your foreground color to a medium gray
or something that is easy to see.
I set mine to purple.
Now draw a rectangle around your lattice,
making it a little bigger that the
lattice .
Now click on the deformation button
and then use the side and top nodes to drag
the sides or top into place.
When you have it lined up like you want it..double
click it then apply deformation.
Like in the image below
This is how you want it lined up
this is using the deformation tool
Now use the magic wand and click on the purple
outline
to select it again. Then flood fill it with
your pattern.
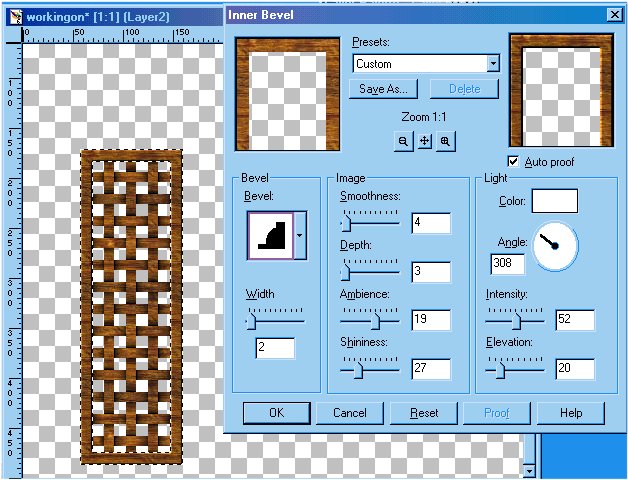
Now...go to Inner Bevel and use these settings.
Now..deselect..go to layers and merge visible.