|
|
|
Highlighting is optional..I don't always add
highlighting to mine
but I will here to show you the effect.
Now..using the Retouch Tool , set it to Lighten
RGB
the rest of the settings stay the same as
before.
Now add some highlights to teddy.
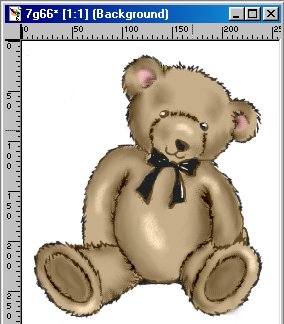
Again..using the smudge..same settings as before...smudge it in.
Here it is after the lighten and smudge.
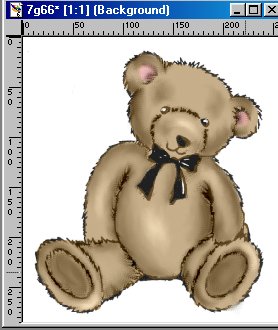
This next step is optional also.
I kind of like the way he looks now but if
you want to add the lines back to him
here is how.
Add a new layer.
Go to Masks, Load from Alpha Channel
and choose the mask you saved earlier.
Set your foreground color to black
Use the flood fill tool and click on the image.
It will put back the lines and everything
that were taken away during the
smudging process.
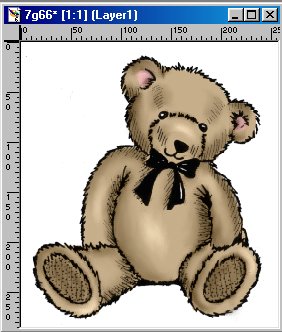
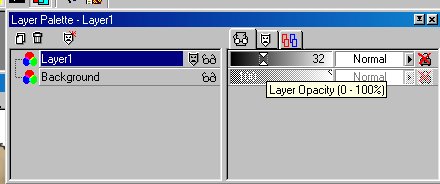
Now go to your Layer Drop down box and slide
the opacity slider.
You can watch your teddy and see how it affects
the darkness
of the lines. Set it to whatever you like.
Here is what I set mine to.
Now go to layers, merge visible and WaLa!
Your done !!
You can color the bow now if you want to.

I hope this was all easy to understand. If
you have any questions feel free to email me
jbrazeal@hotmail.com
Tutorial written by Jane Braz
©2000