|
|
|
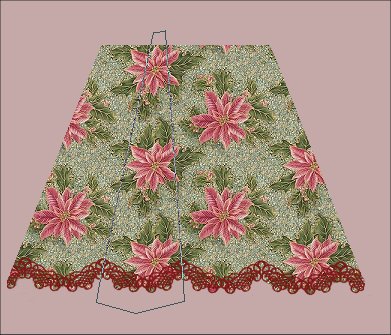
Tablecloth Page 2
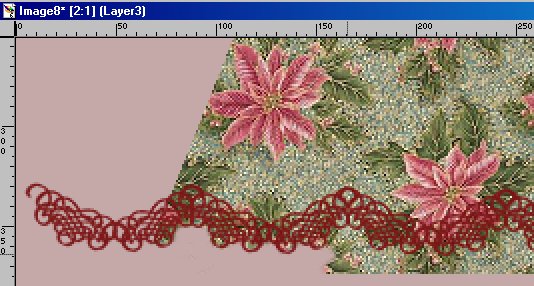
Now while you are still on layer 3.. zoom in at the bottom
..where the
lace is. Use your eraser tool..size about 5..Opacity
and Density
set to 100....and carefully erase the fill that comes
below the lace.
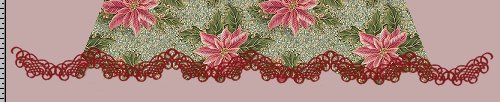
Like this
Do this all the way across the bottom of your tablecloth.
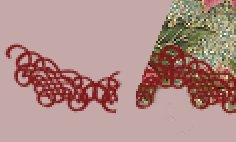
Now go to the Layers Dropdown box and click on Layer 2 to make it active.
Now use the earser tool to erase the extra lace at the edge of the
cloth. Do both edges.
Like this
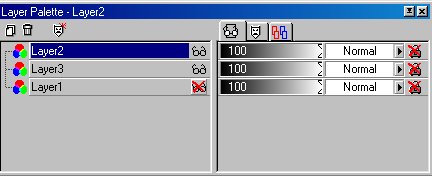
Now go to the Layers Dropdown box again...click on layer 2 to make
sure it's active. Then click on the glasses on layer 1 to make it invisible.
It will put a red X on them like below. See how Layer 2 is blue..that
means it is selected.
Now go to layers..merge visible.
Now go back and click the glasses again on layer 1 to make it visible
again.
Look at the image below to see what you are trying to do in this next
step.
Now make sure you are on the layer called Merged.
Use the Lasso tool..point to point..antialias checked..
Start at the top..click..then come down to where the lace edge comes
up to a V
..go a little below it and click again..then go to the opposite side
where the V is
click again...then back to the top..click again. Then right click to
close it.
We are making a pie slice shape here..with the top not quite
coming to a V.
Once you have it closed...just click inside the selection to make it
conform to the top and bottom.
Now...keep this selected...add a new layer..
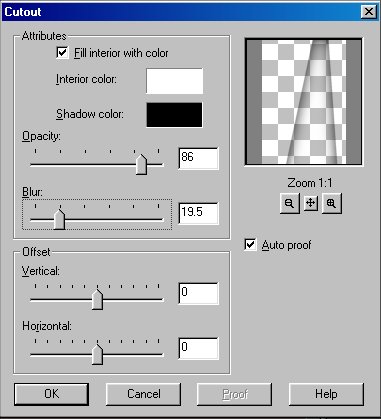
Go to Image..Effects..Cutout..and use these settings
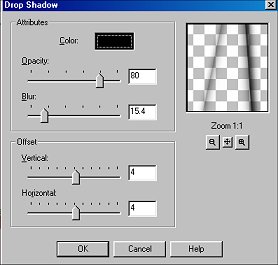
Keep it selected and go to Image...Effects...Dropshadow...
Use these settings.
NOTE: If you do not want a shadow at the bottom of the lace here...
just set the Vertical to 0.
Now de-select it.