|
|
|

Warning
This tutorial has lots of images .
Written by Jane Braz
My Main site is
http://www.psptubes.com
If you belong to a group or list and want to
post this tutorial
please let me know first...Thank You .
jbrazeal@hotmail.com
Ok..I have had several people ask me to write
this tutorial so I thought I would
attempt it.
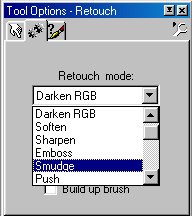
This first part is just a small tut on using
the Retouch Tool and how to do the strokes.
If you want to skip this part and go on to
the coloring..
go HERE
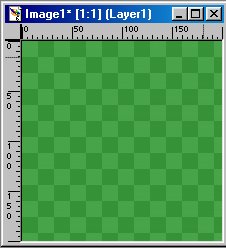
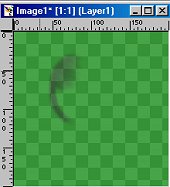
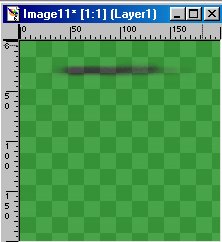
I am just using a colored blank here to show
how to do the blending strokes.
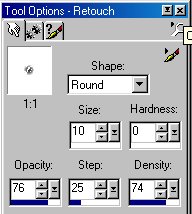
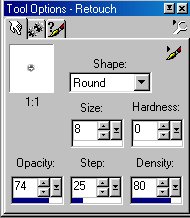
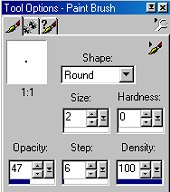
Select your Retouch Tool...set with these settings
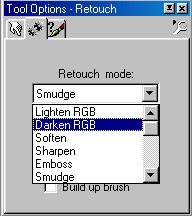
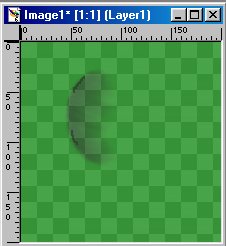
Now..darken a small half circle area by going
over it with
the retouch tool. The more you go over
it..the darker it gets.
I went over this one about 4 times.
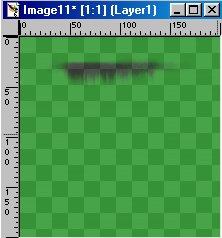
Now..Set the Retouch Tool to Smudge, with these
settings
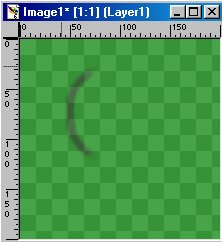
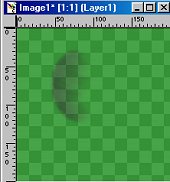
Using the smudge tool...start in the shadow
area and drag some of the shadow
to the right. At first it may not seem like
it's doing anything here but the more
you go over it..the more it will show. Doing
it in small amounts lets you control it better.
When I do mine..I drag some of the dark out
to the right..then in places
I drag some of the lighter from the right
back to the left.
Keep doing this till you get a soft shading.
Now if you want to add a little more darker
to it you can use the Paintbrush
Set your foreground color to black and use
these settings
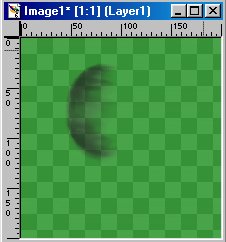
Then add 2 or 3 small lines or spots of black
to the edges.
You can go over them again to make them darker
if you want or you can increase
the opacity settings
Like this
When I took the screen shot..I had only painted
the black lines once..but
when I started to blend it..it was too light
so I went over them again a couple times to
make them darker
Now..use the Retouch tool set to smudge again..only
decrease the size to about 7 or 8.
Keep the other settings the same.
Use the same technique as before..dragging
the dark black line to the right.
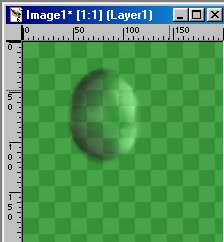
Now this is what I came up with.
Now..if you use the exact same technique..only
set the Retouch Tool to
Lighten RGB..then you can add highlights to
the right side.
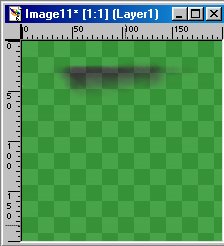
One more tip now and then on to coloring something besides a green square *S*
In the sample below..I have darkened a straight area at the top
Now I will drag some of it down using the smudge.
Only set the smudge size to
about 7 or 8. The smaller the smudge brush..the
more of a line effect you will get.
It makes it looked streaked. Also you can
increase the opacity to about 80 or 85.
See how streaked it looks where I drug the
dark down ?
Sometimes..you want some things to look streaked.
But if you want to smoothe out these streaks
and make it look more blended..just run the
brush back and forth from left to right
down at the end of your streaks.
A good tip on using the smudg brush is...don't
keep the button down and go back and
forth..instead..click and go to the right..let
off the button..then click and go to the left.
It's just like painting with a can of spray
paint..left to right..let off..right to left
let off..then back again. See now how
the shading graduates from dark to light ?
All I can say from this point is play with using these techniques!
The size and opacity of your smudge brush determines
a lot of how your
shading will look. To get a more streaked
effect ..make the brush smaller
and increase the opacity.
The best tip is ..don't do this with the opacity
set to 100. It may seem like a good idea
to try to do it all at once but it is better
to go over it again in small
amounts till you get it looking the way you
want it.
And don't forget the UNDO tool..it's my best friend in PSP..*S*
Now..on to Coloring Something !