|
|
|
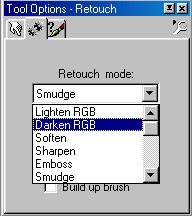
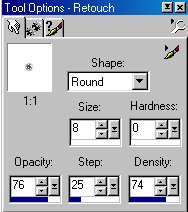
Now Select the Retouch tool
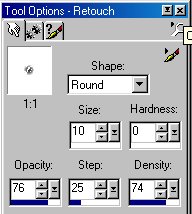
Use these settings
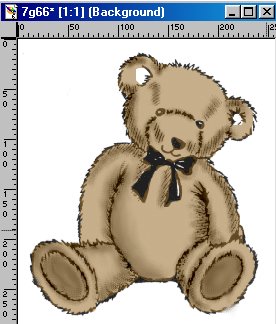
Now go over all the black lines and the shaded
areas. You can add some more
shading in places where you want. Just think
of the direction of where your light would be coming from.
Also..very important..don't just click the
mouse button and hold it as you go over it.
Click the button and go over a small area..then
let off and click it again and go
over it again...this layers it and makes it
darker each time.
Remember back when you used to color in coloring
books and you went over
all the outlines darker....that's what you
want to do here.
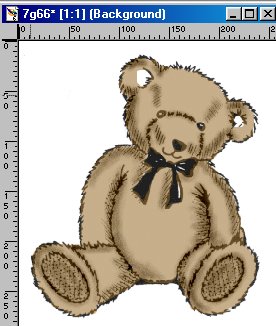
Here is mine.
Now..Choose the smudge and use these settings.
Start smudging in your shading now using the
technique from the first page.
WARNING HERE...when smudging now...the black
lines are going to smudge also.
I smudge the shadow lines..but you don't want
to smudge the outlines.
See how the black spots in his feet smudged
in ?
I will show you how to add them back later.
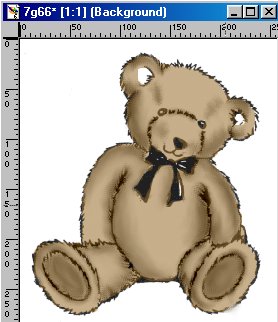
OK..here it is after I have smudged all my
shading so far.
The foot is smudged a little on the outline
because my grandson hit my arm.
I didn't notice it till later and didn't want
to go back and redo it...*S*
Thank God for Grandkids !!..LOL
Now to do the ears
Choose a new foreground color for the ears.
Again..choose a medium shade. I used
#F99F9F
Keep your paintbrush settings the same as before and paint the ears.
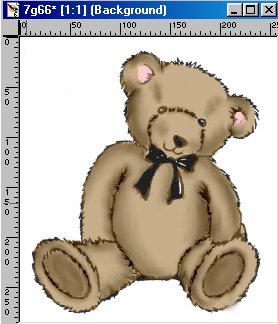
Use the Retouch to darken a small area...you
can decrease the size by one or two if you want to.
Then use the Smudge to smudge it in.
The next thing is to set your foreground to
white..use the Paintbrush
size 2 and put a white spot in the eyes.