Making a Christmas Stocking

You will need my stocking selections for this tutorial.
You can download them here.
Stocking Selections
Just unzip them into your Selections folder of PSP.
Open a new image...500x500, transparent background.
Set your Foreground color to the color you want your heel and toe
to be.
Go to Selections...Load from Disk..
and choose jstocking .sel
Now flood fill it with the Foreground color.
Keep it selected...add a new layer..and on the new layer
flood fill it with a color you want the stocking to be.
You can also use a pretty fill pattern if you want.
I chose Green for the heel and toe and dark red for the stocking.
De-select it.
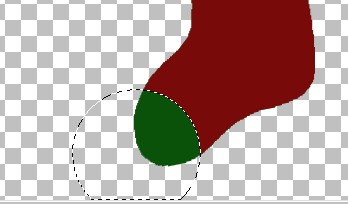
Now..use the Selection tool ..set to ellipse..antialias checked..
make sure you are on Layer 2..
and draw an ellipse at the bottom of the stocking at the toe of it.
Then hit delete..
Like this
Do the same for the heel.
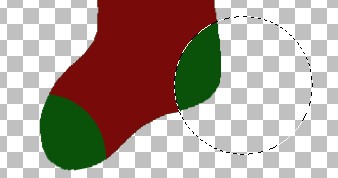
De-select.
Merge visible Layers.
Add a new layer.
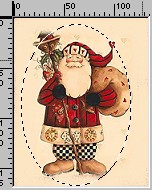
On the new layer ..add your tube or an image you want to put on it.
I resized a graphic I had..then used my Selection tool..
Ellipse...feather 10 to select the center of it.
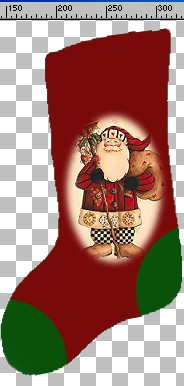
Copy and paste it onto your stocking.
Make sure the edges don't go out past the edge of the stocking.
If they do you can use the eraser and zoom in to erase whatever
goes over the edge of the stocking.
Like this.
Now merge visible layers.
( I know...you didn't really have to put that image on a layer of it's
own)
*S* But the reason for doing that is in case you have to erase any
of it
that hangs over.
Ok now use the Rectangle Selection to draw a box all around
the stocking...then click inside of it to select it.
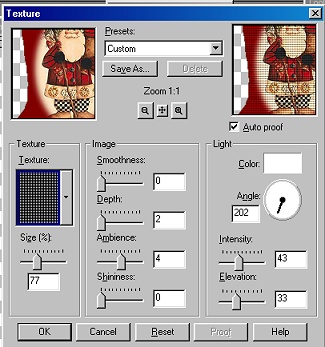
Go to Image....Effects...Texture
Select #16 in the drop down box
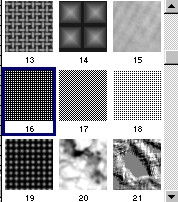
Use these settings
NEXT