|
|
|
Now..add a new layer.
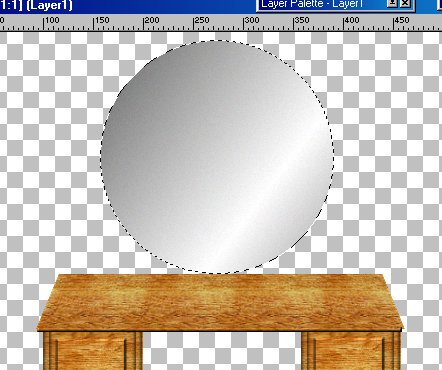
Use the Selection tool..set to circle, no feather, anti alias unchecked.
Draw a circle in the center at the top of the dresser. This will
be your mirror.
You can see the image below to get an idea of where to draw it and what size.
Use the Fill tool, set to Linear Gradient and use these settings.
Fill the circle. Then go to Image ..Effects..Noise..and add a noise
of 4, Uniform.

Once you get it filled you can use the selection tool to move it to position it better.
Here is mine.
Set your foreground color to white.
Now choose your Draw Shapes tool and these settings
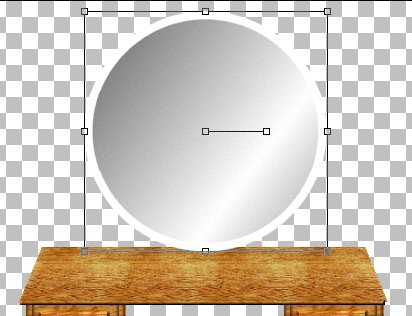
Start at the center of your mirror and draw a circle out to the edge
of the mirror.
Keep selected and click on your Deformation tool. Now use the boxes
at the edges
to drag or pull the circle until it is lined up with the edge of
your mirror.
Like This
Now double click in it and click Yes to Apply Deformation.
Now use the magic wand, feather 0, antialias unchecked.
Select the white circle.
Flood fill it with the wood pattern.
Keep selected..go to Image..Effects..Outer Bevel and use these settings

Deselect it now.
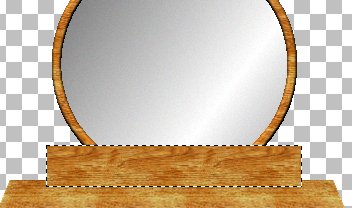
Now..add a new layer.
Select your rectangular selection tool and select a rectangular
area
just like the one below.
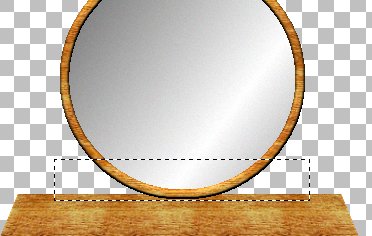
Flood fill it with the wood pattern.
Now go to your Layers Drop down box..see the Layer3 ? Just click
on it and hold the
mouse button down and drag it down below all the other layers.
Now it should be at the bottom like this.
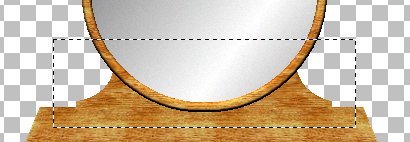
Now.use the Selection tool...set to Ellipse, Feather 0, and
select an area like the one shown below.

Hit Delete to delete it.
Now do the same for the other side.
Like this

Now use the Rectangle Selection tool ..set to rectangle and draw
a large rectangle around
the back board you just made..click on it anywhere in the rectangle
to select it.
Like this
Here I drew the rectangle
Here I clicked on the board inside the rectangle and it selected
it.
